The iPhone SE 1st generation is still one of my all time favorite phones in terms of size and design.
This one was booked in for a screen replacement which was still usable but partially damaged.
The battery was at 84% and I suggested to the customer that would be a good idea to replace it now because it will cost a lot less while the phone was being taken apart anyway.
For this repair you can easily use the tools that come with the replacement screen or battery and the only thing you will need extra will be Isopropyl Alcohol, the higher the percentage the better, I used 98% and you will see later why.
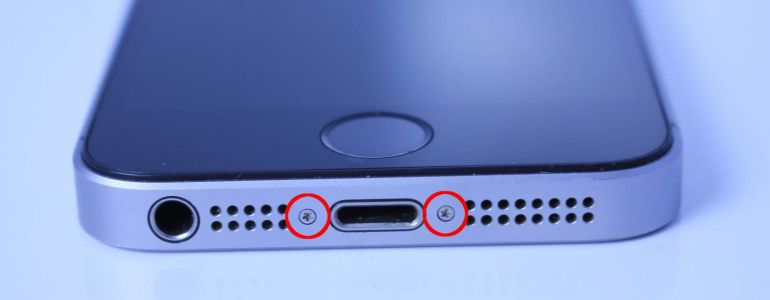
Unscrew the Pentalobe screws, they are both the same size so don't worry about swapping them out.
Place a suction cup slightly above the home button and gently start to pull up while applying more and more force until you see the screen starting to lift.
At this point you can use the plastic pry tools that came with your replacement screen, above the headphone jack you will start to see a gap as you pull and you can start prying there.
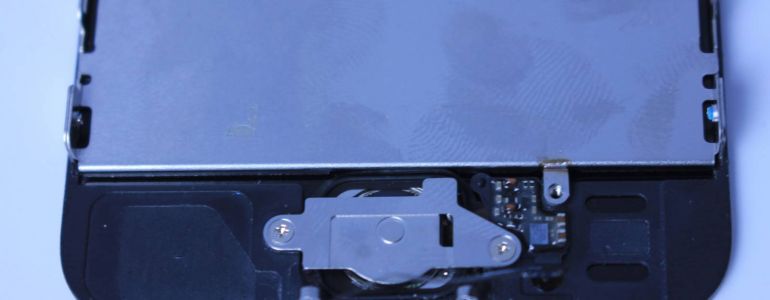
Gently lift the screen up and you will see the cover of the home button connector.
Remove the cover and the connector itself gently and continue to lift the screen at around a 90 degrees angle, do NOT go over 90 as you will risk damaging the screen connectors.
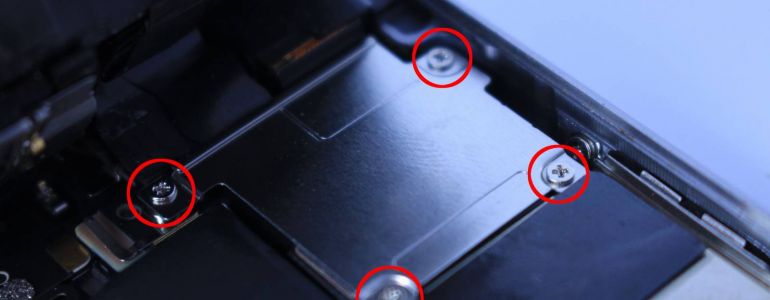
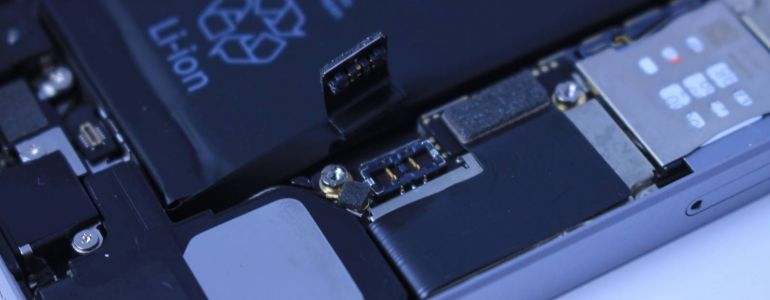
Now unscrew the battery connector cover and keep the screws organised as from this point onwards you will have different screw sizes.
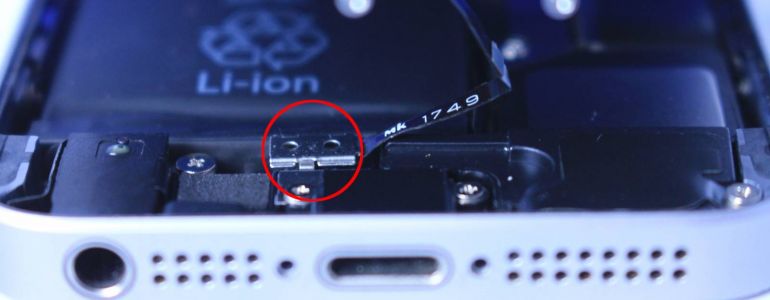
Disconnect the battery using a plastic spudger, I suggest NOT to use anything metal because you have battery voltage there and also by using plastic there is smaller chance of connector damage.
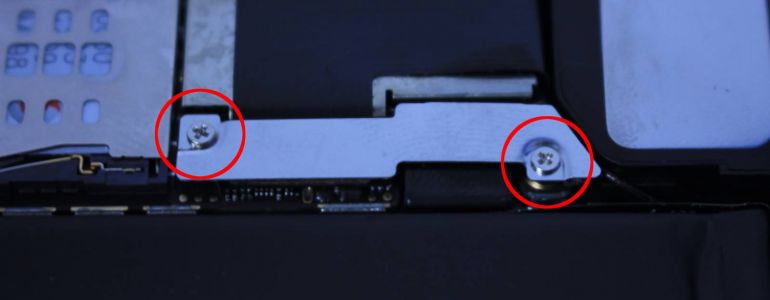
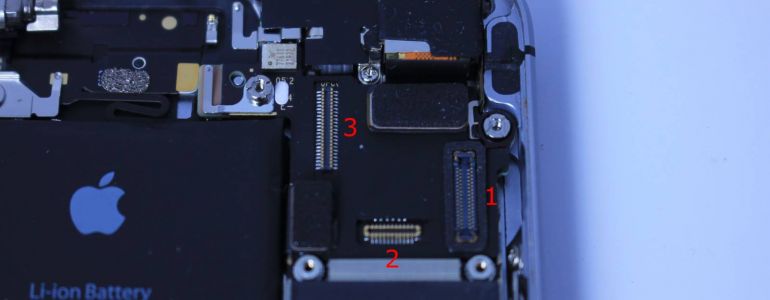
Unscrew the cover for the display connectors and keep them separate as they are different sizes.
Now you can disconnect the screen connectors, there are 3 of them.
I have marked the order in which they need to be disconnected, 1-2-3 and 3-2-1 when reassembling.
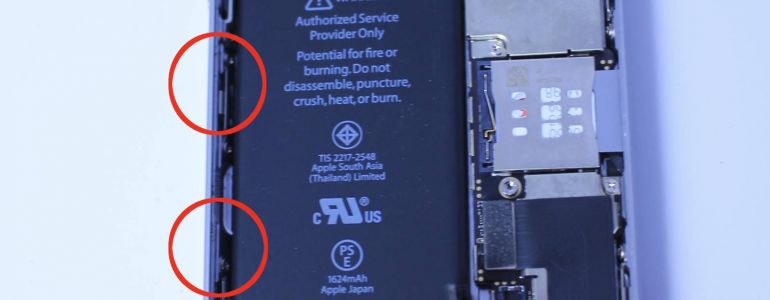
Now with the screen disconnected we can proceed to remove the battery.
Do not use anything sharp even if you struggle to remove it, if you pierce the battery in your attempt it will catch on fire.
Do not be afraid if the battery will bend a little bit, it's nearly impossible not to do that in the process.
There are 2 tabs next to the home button which you can pull and slowly you will remove the glue strips holding the battery down.
In theory that works but in reality they alway break so I will not even attempt that, instead use a plastic tool and start pry from the left side while slowly applying Isopropyl Alcohol from the side ensuring it makes its way under the battery.
Apply Alcohol and pry gently and slowly the battery will start to come loose.
With the old battery out we place the new glue strips on the new one, remove the blue film and not the pink one, if you try to remove the pink you will mess the glue strips because they stretch very easy.
Do NOT remove the pink just yet, place the battery in the phone first and try to fold the battery connector until you can actually connect it to the board, you will need to bend it and in the process the battery will be in and out so do not remove the pink plastic film until the battery connector sits nicely in place, once happy you can remove gently the pink film and glue the battery in place but do not connect it just yet.

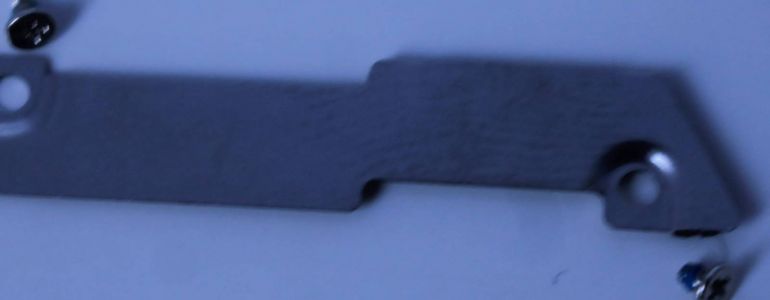
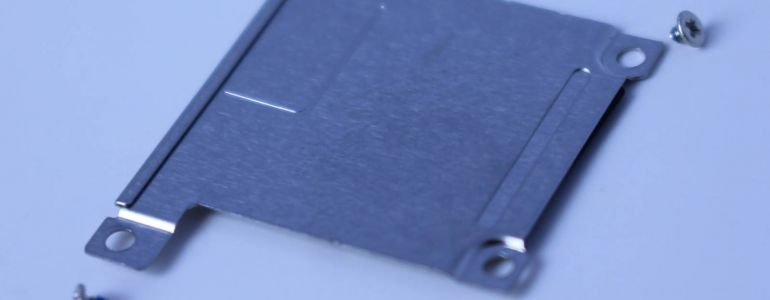
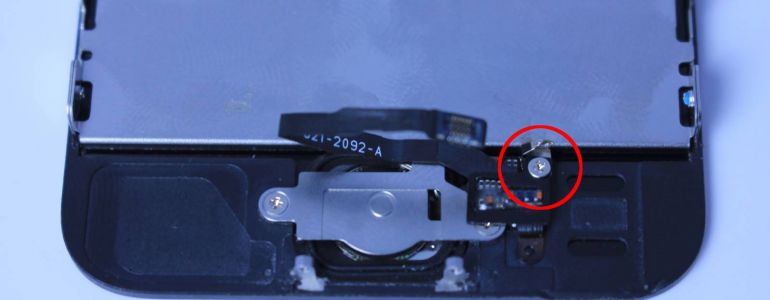
With the battery replaced we move to the screen and we have to swap the home button from the original screen to the new one otherwise the touch id will not work.
Remove the screw holding the connector to the screen, then move the connector to one side so you can unscrew the cover of the home button.
With the cover removed, pry under the connector that is glued on the screen, do not be tempted to use a blade or sharp tweezers because the ribbon can be easily cut/damaged, same like the battery, take your time.
Pop the home button out from the screen and in reverse order fit it to the new screen.
Start connecting the screen back in 3-2-1 order and fit the cover, now connect the battery and fit the cover.
When lowering the screen connect the home button, now this will be very frustrating but take your time and keep your cool.
Once that is done put the connector cover back for the home button and turn you phone on for a test before reassembling.
If something is not right go through the steps again.
Gently slide the screen at the top into its place and slowly lower it while applying equal pressure on the side until it is all the way in, pentalobes screws back and the job is done.